 ×
×
Oct 11,2026
TIANYU Laser · 30-Day Laser Cleaning Series · No. 04 · 6 min read
#LaserCleaning#BaseMetalDamage#Aluminium#StainlessSteel#TIANYULaser
Same machine for every metal — a 500 W ns-pulsed head, 1064 nm, adjustable 1–200 ns pulse width, 0.5 mm spot. Same contamination: light surface oxide plus a film of cutting oil. What changed was the material, because the material decides everything.
"Damage" here is not a feeling. It means one of three measurable things: mass loss of the base metal, a change in surface profile (Ra), or a metallurgical change — heat tint, pitting, or sensitization. If none of the three shows up, the beam was safe.
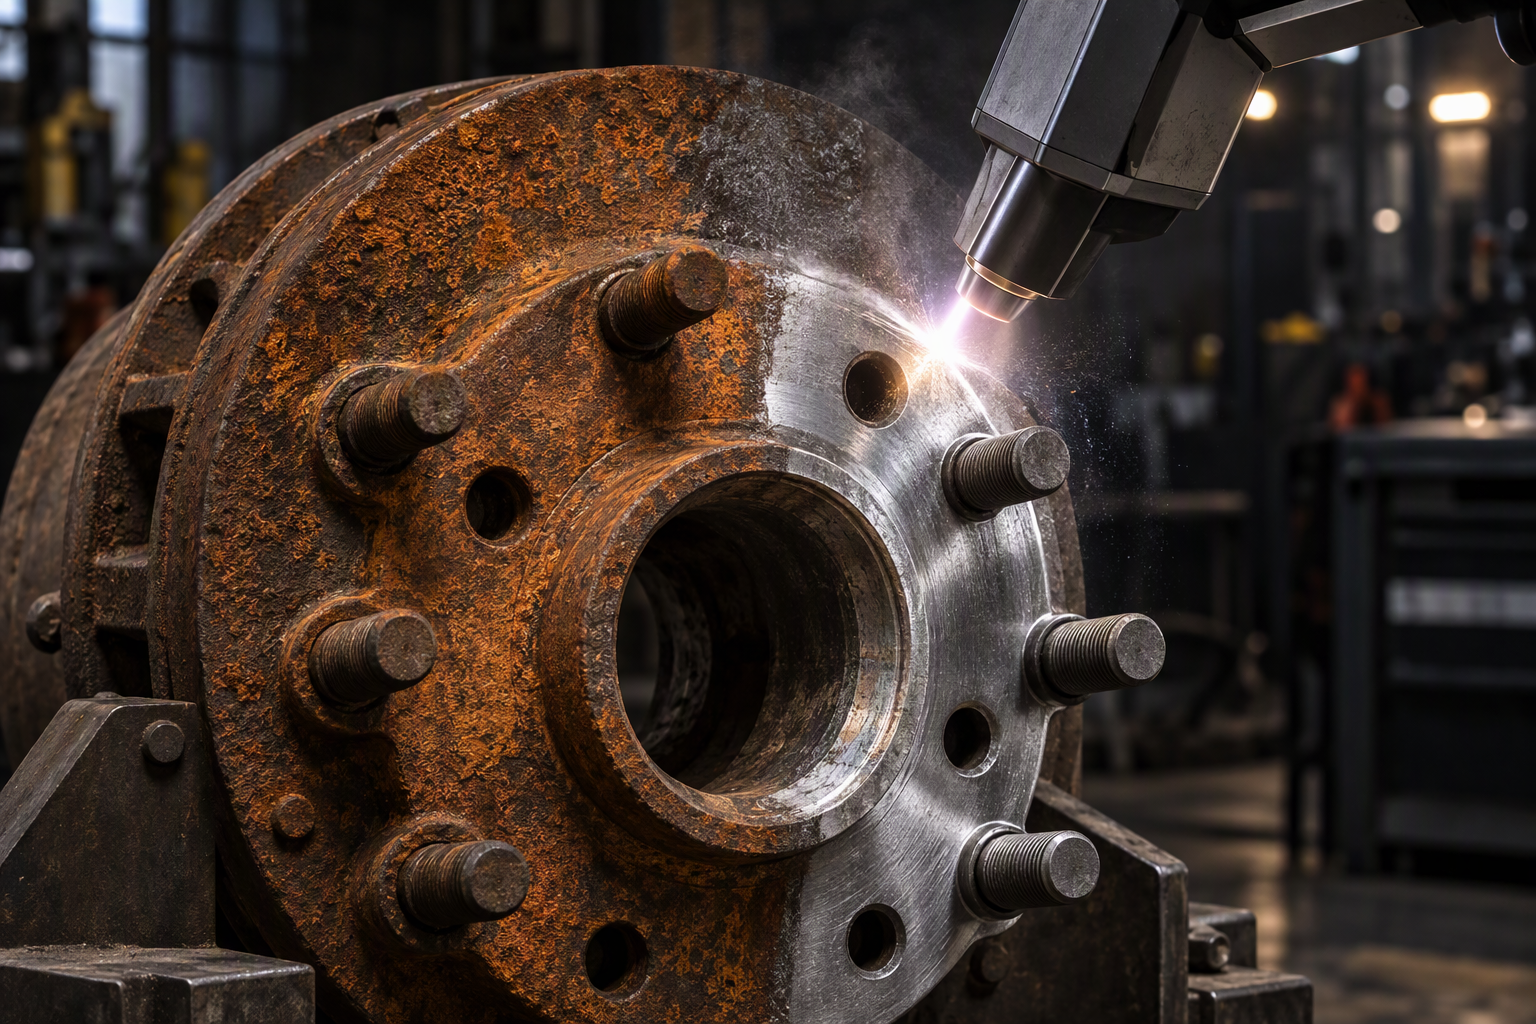
▴ The goal in one picture: contamination gone, base metal untouched. The whole article is about staying on the left of that line.
Before the rounds, three material properties decide how much trouble you are in. None of them is "hardness."
| Material | Reflectivity @ 1064 nm | Melting point | Thermal conductivity | Damage risk |
|---|---|---|---|---|
| Aluminium (6061) | ~92% (drops as it heats) | 660 °C | 205 W/m·K | HIGH |
| Copper / brass | ~95% (highest) | 1,085 °C | 401 W/m·K | MEDIUM–HIGH |
| Stainless 304 | ~65% | 1,400–1,450 °C | 16 W/m·K | LOW |
Read it as a chain: high reflectivity means the beam bounces instead of working, so operators crank the power up — and then low melting point plus high thermal conductivity means that extra power spreads sideways and melts a thin skin. That is the exact trap aluminium and copper set. Stainless is the opposite: it absorbs well, melts hot, and conducts heat away slowly, so the energy stays where you point it.
Aluminium melts at 660 °C — lower than the steel most operators trained on — and it pulls heat away five times faster. Push too much energy and you get a dull grey smear where the anodizing used to be, plus micro-pitting you can feel with a fingernail.
Safe window: keep the energy density (fluence) under roughly 2 J/cm². In practice that means short pulses and low average power, not brute force.
Watch for: the bright silvery patch turning matte grey. That is the oxide layer leaving, and it means you are one notch from the substrate.
Copper reflects about 95% of 1064 nm light — only one photon in twenty does any work. The naive fix is to raise the power, and that is precisely how people scorch copper. There is also a second, sneakier problem: the beam that bounces off can travel back up the optical path into the source.
Safe window: angle the head 5–10° off-normal so the reflection misses the aperture, and use a longer pulse to spread the load rather than a hotter one.
Watch for: a pinkish or pitted sheen. Copper has no protective oxide to hide behind — once it discolours, it is already etched.
Stainless absorbs the beam well (~65%), melts above 1,400 °C, and conducts heat away slowly. That combination makes it the friendliest of the three — the wide safe window is exactly why laser cleaning took off in food, dairy and pharma fabrication.
But "safe" is not "no rules." Two things still bite: a rainbow heat tint if you linger, and sensitization — chromium carbide precipitating at 450–850 °C — which quietly strips corrosion resistance from welded 304 in chemical service.
Watch for: any yellow or blue tint on the cleaned patch. It means the surface ran hot — back off the power or speed up the scan.
Strip away the marketing and there are only three dials. Get these right and the metal is safe; get any one wrong and no amount of "premium laser source" will save the part.
| Dial | What it controls | Turn it up and… |
|---|---|---|
| Fluence (J/cm²) | Energy delivered per unit area, per pulse | base metal starts ablating |
| Pulse width (ns) | How long that energy has to soak in | heat conducts deeper — HAZ grows |
| Overlap / scan speed (%) | How many pulses land on the same spot | cumulative heating, tint, warp |
Here is the practical version — the starting windows we hand customers for a 500 W ns-pulsed head. Treat them as launch points, not gospel, and always confirm on scrap.
| Metal | Fluence | Pulse width | Average power | Overlap |
|---|---|---|---|---|
| Aluminium 6061 | < 2 J/cm² | 50–100 ns | 100–300 W | ~60% |
| Copper / brass | 1–3 J/cm² | 100–150 ns | 300–500 W | ~50% |
| Stainless 304 | 2–5 J/cm² | 100–200 ns | 200–500 W | ~50–70% |
This is the comparison nobody publishes. On a 1.5 mm aluminium panel with light oxide, here is what each method does to the metal beneath the contamination.
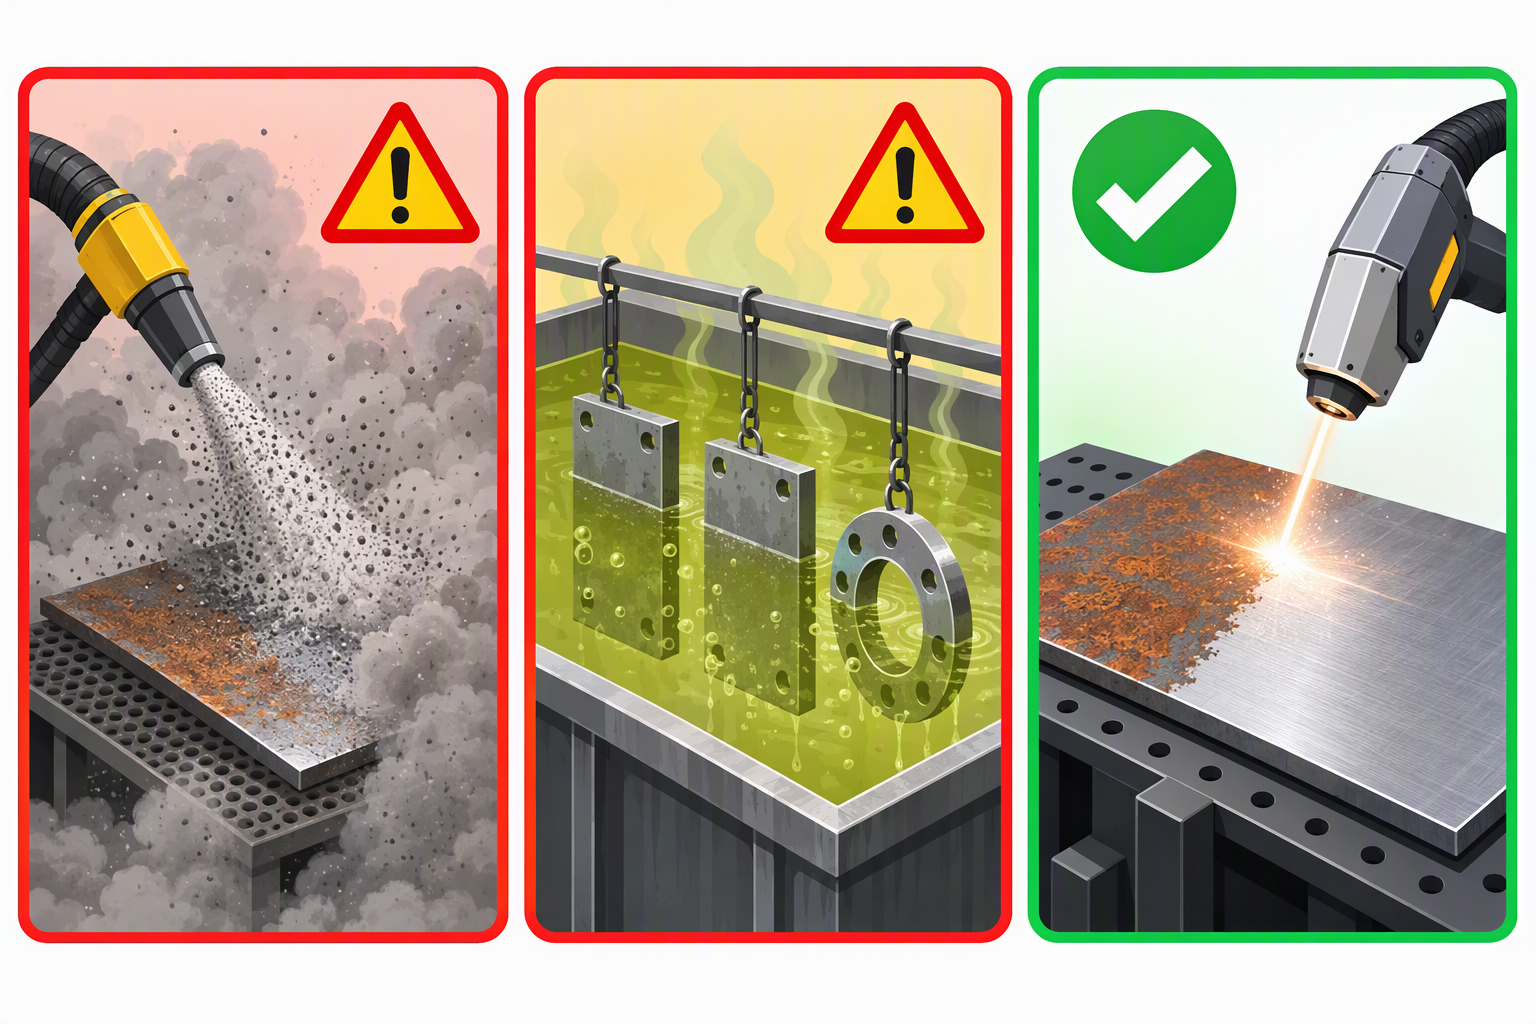
▴ Sandblasting and chemicals both work — by consuming some of the part. Laser works by leaving it alone.
| Method | Base metal removed | New surface profile (Ra) | Side effect on the part | Verdict |
|---|---|---|---|---|
| Sandblasting | 3–6 µm per pass | 3–6 µm — coarse | Media embedment, distortion on thin sheet | Damages |
| Grinding / wire brush | 20–50 µm per pass | Rough, directional | Heat tint, removes protective layer | Damages |
| Chemical / acid | 5–30 µm etch | Uneven | Hydrogen embrittlement risk, waste stream | Damages |
| Dry ice blasting | ~0 µm | Unchanged | Slow, no profile to anchor coatings | Safe but slow |
| Laser (ns-pulsed, dialled in) | 0–5 µm, controllable | Unchanged — or intentionally roughened | None if parameters are right | Safest & fastest |
The key line is the last one. Laser is the only method where the amount of base metal removed is a setting, not a consequence — and that setting can be near zero.
You do not need a metallurgy lab to catch over-cleaning. Any one of these means stop, back off the power by 10–20%, and re-test.
| Signal | Where you see it | What it means |
|---|---|---|
| Rainbow / straw tint | Stainless, around the clean patch | Surface ran hot — oxide re-forming |
| Dull grey smear | Aluminium | Anodizing / natural oxide stripped, substrate exposed |
| Pink or pitted sheen | Copper & brass | Surface already etched — irreversible |
Every machine and every alloy is slightly different, so the last word always comes from your own bench. Run this routine once per material and you never guess again.
The rule: clean until the dirt is gone, then stop. The moment you push "just a bit more" for a brighter finish, you have started machining the part.
▴ TIANYU 500 W portable pulsed cleaner — adjustable 1–200 ns pulse width, so you can dial the safe window for aluminium, copper and stainless. CE certified, 100–6 000 W range available.
👉 Send us your alloy — get the safe parameter window, free
Tell us the material and thickness, plus what you are cleaning off. We reply with the recommended fluence, pulse width and power — and a quotation — within 24 hours.
About Wuhan TIANYU Laser
Wuhan Maohe Tianyu Laser Equipment Co., Ltd. — 100 W to 6 000 W portable, benchtop and robotic laser cleaning & welding systems.
CE certified. Exporting to Europe, Southeast Asia and the Middle East.
OEM / ODM available for housing, power and scan width.
Part 04 of the "30 Laser Cleaning Questions" series.
Next → "What Can a Laser Cleaner Remove? Rust, Oil, Paint, Oxide & Weld Slag Explained"
Follow us — one practical insight every day.

 EN
EN