 ×
×
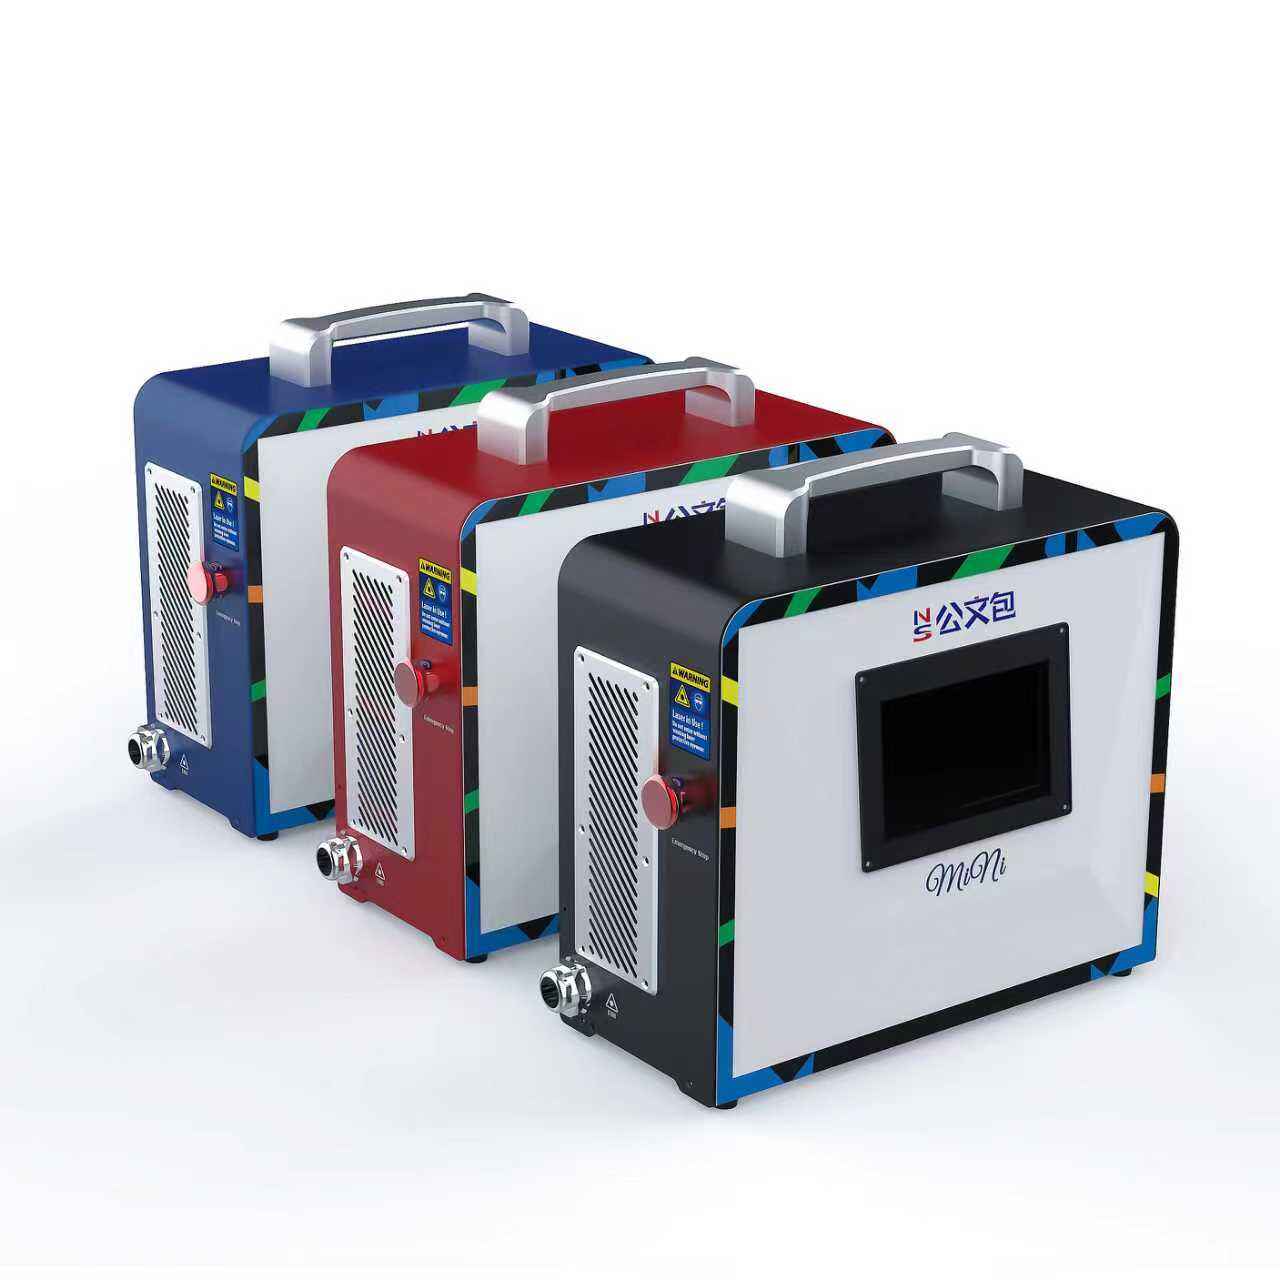
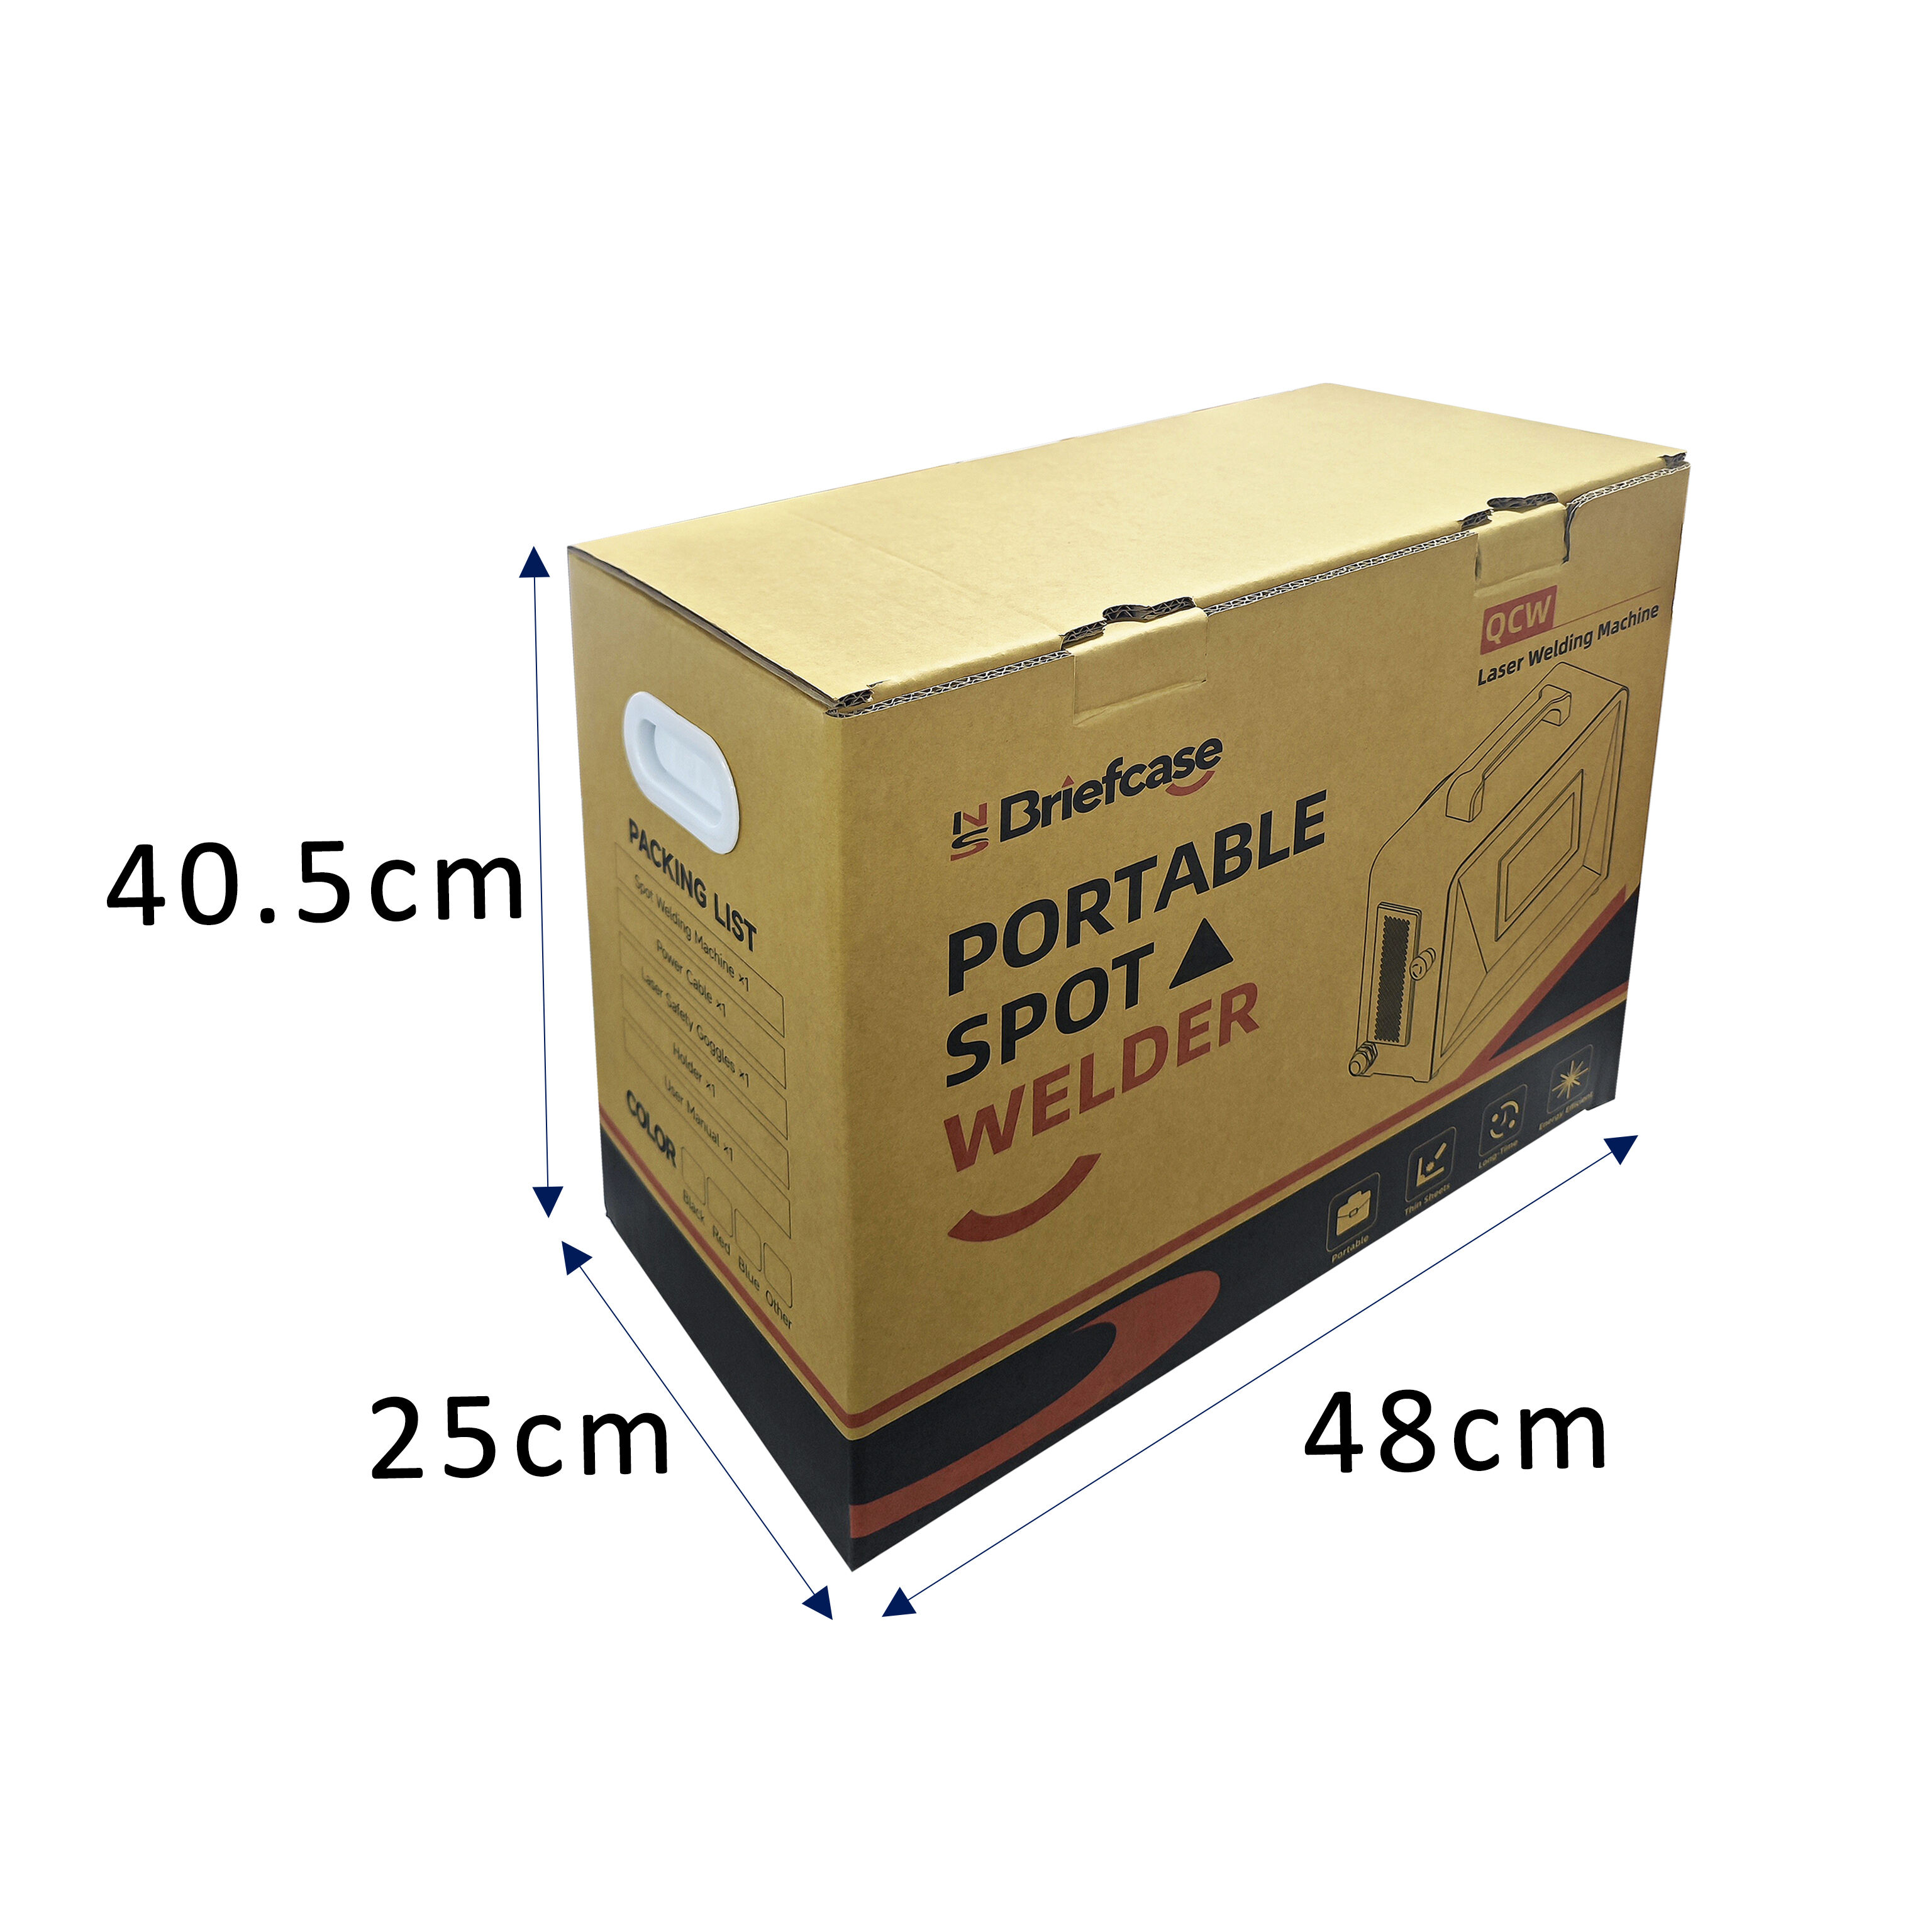
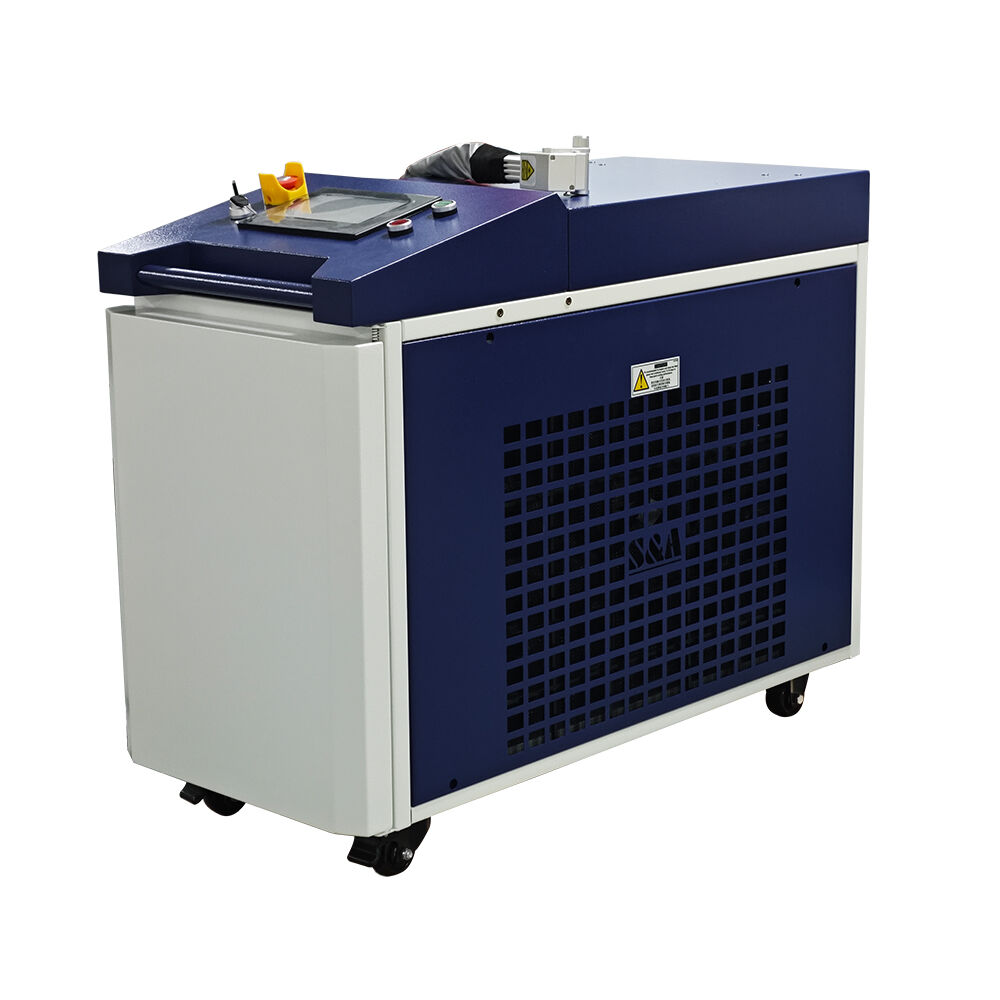
The portable laser welding machine is a high-precision welding system
integrating quasi-continuous wave (QCW) fiber laser technology. Featuring an integrated handheld design with compact size and lightweight
construction, it combines process flexibility with industrial-grade performance. Optimized for precision welding in complex scenarios, this
equipment is ideally suited for applications such as thin-sheet metal
welding, advertising sign fabrication, lighting product assembly, and
manual DIY manufacturing.
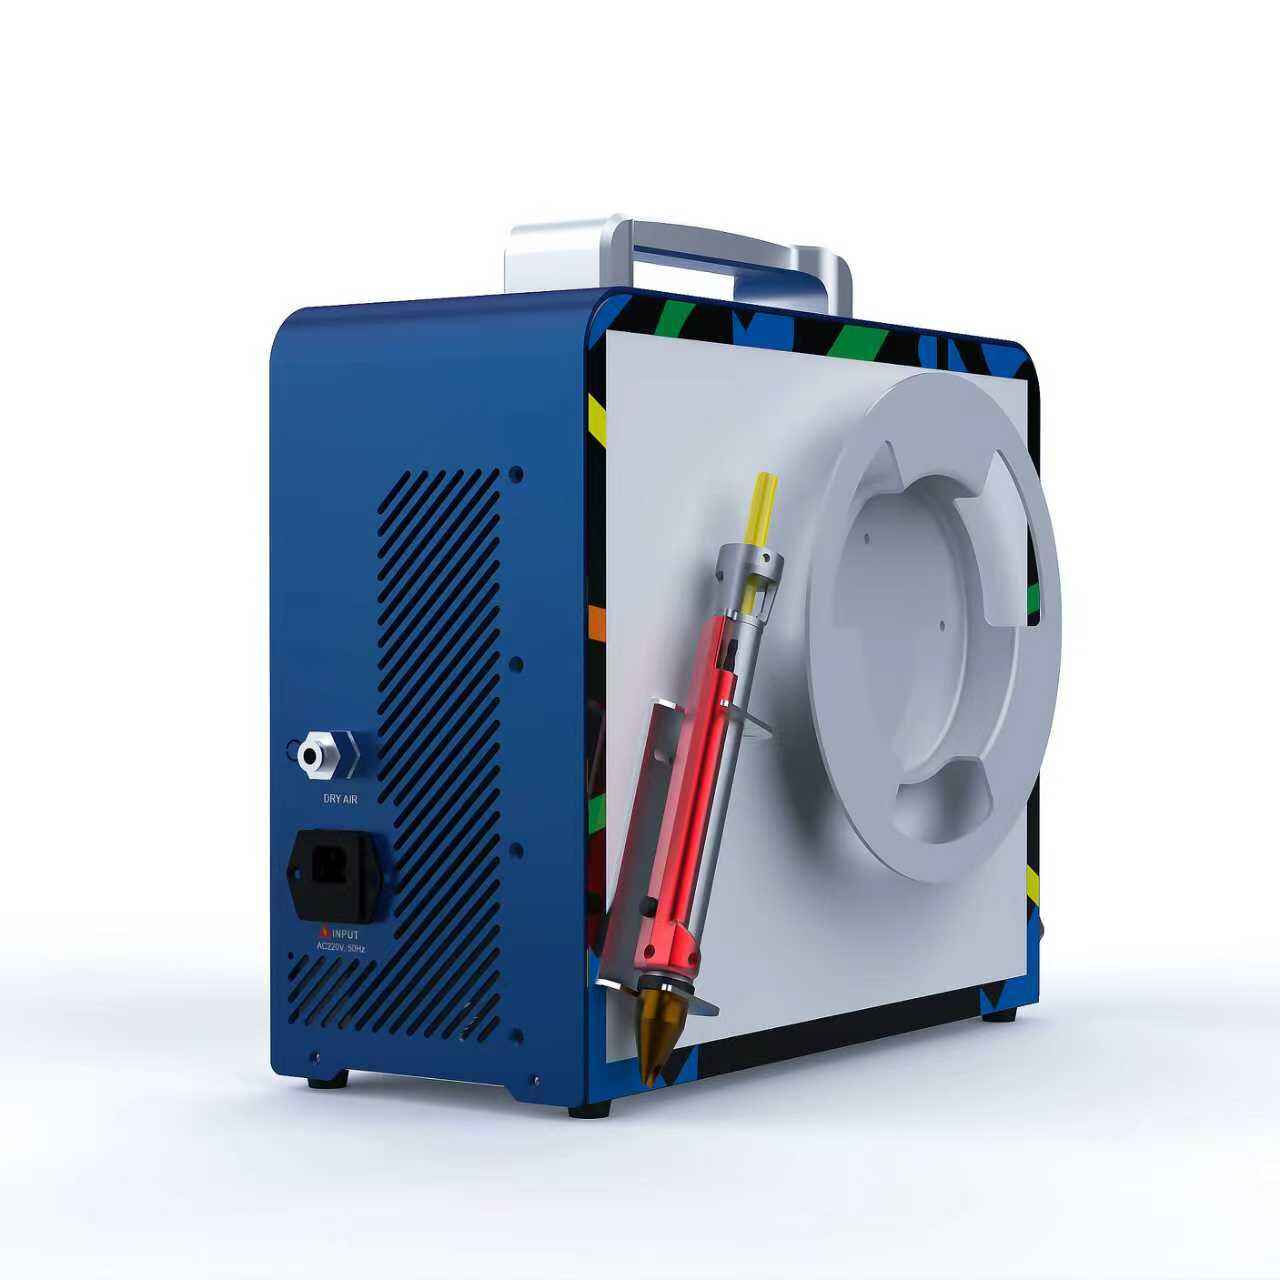
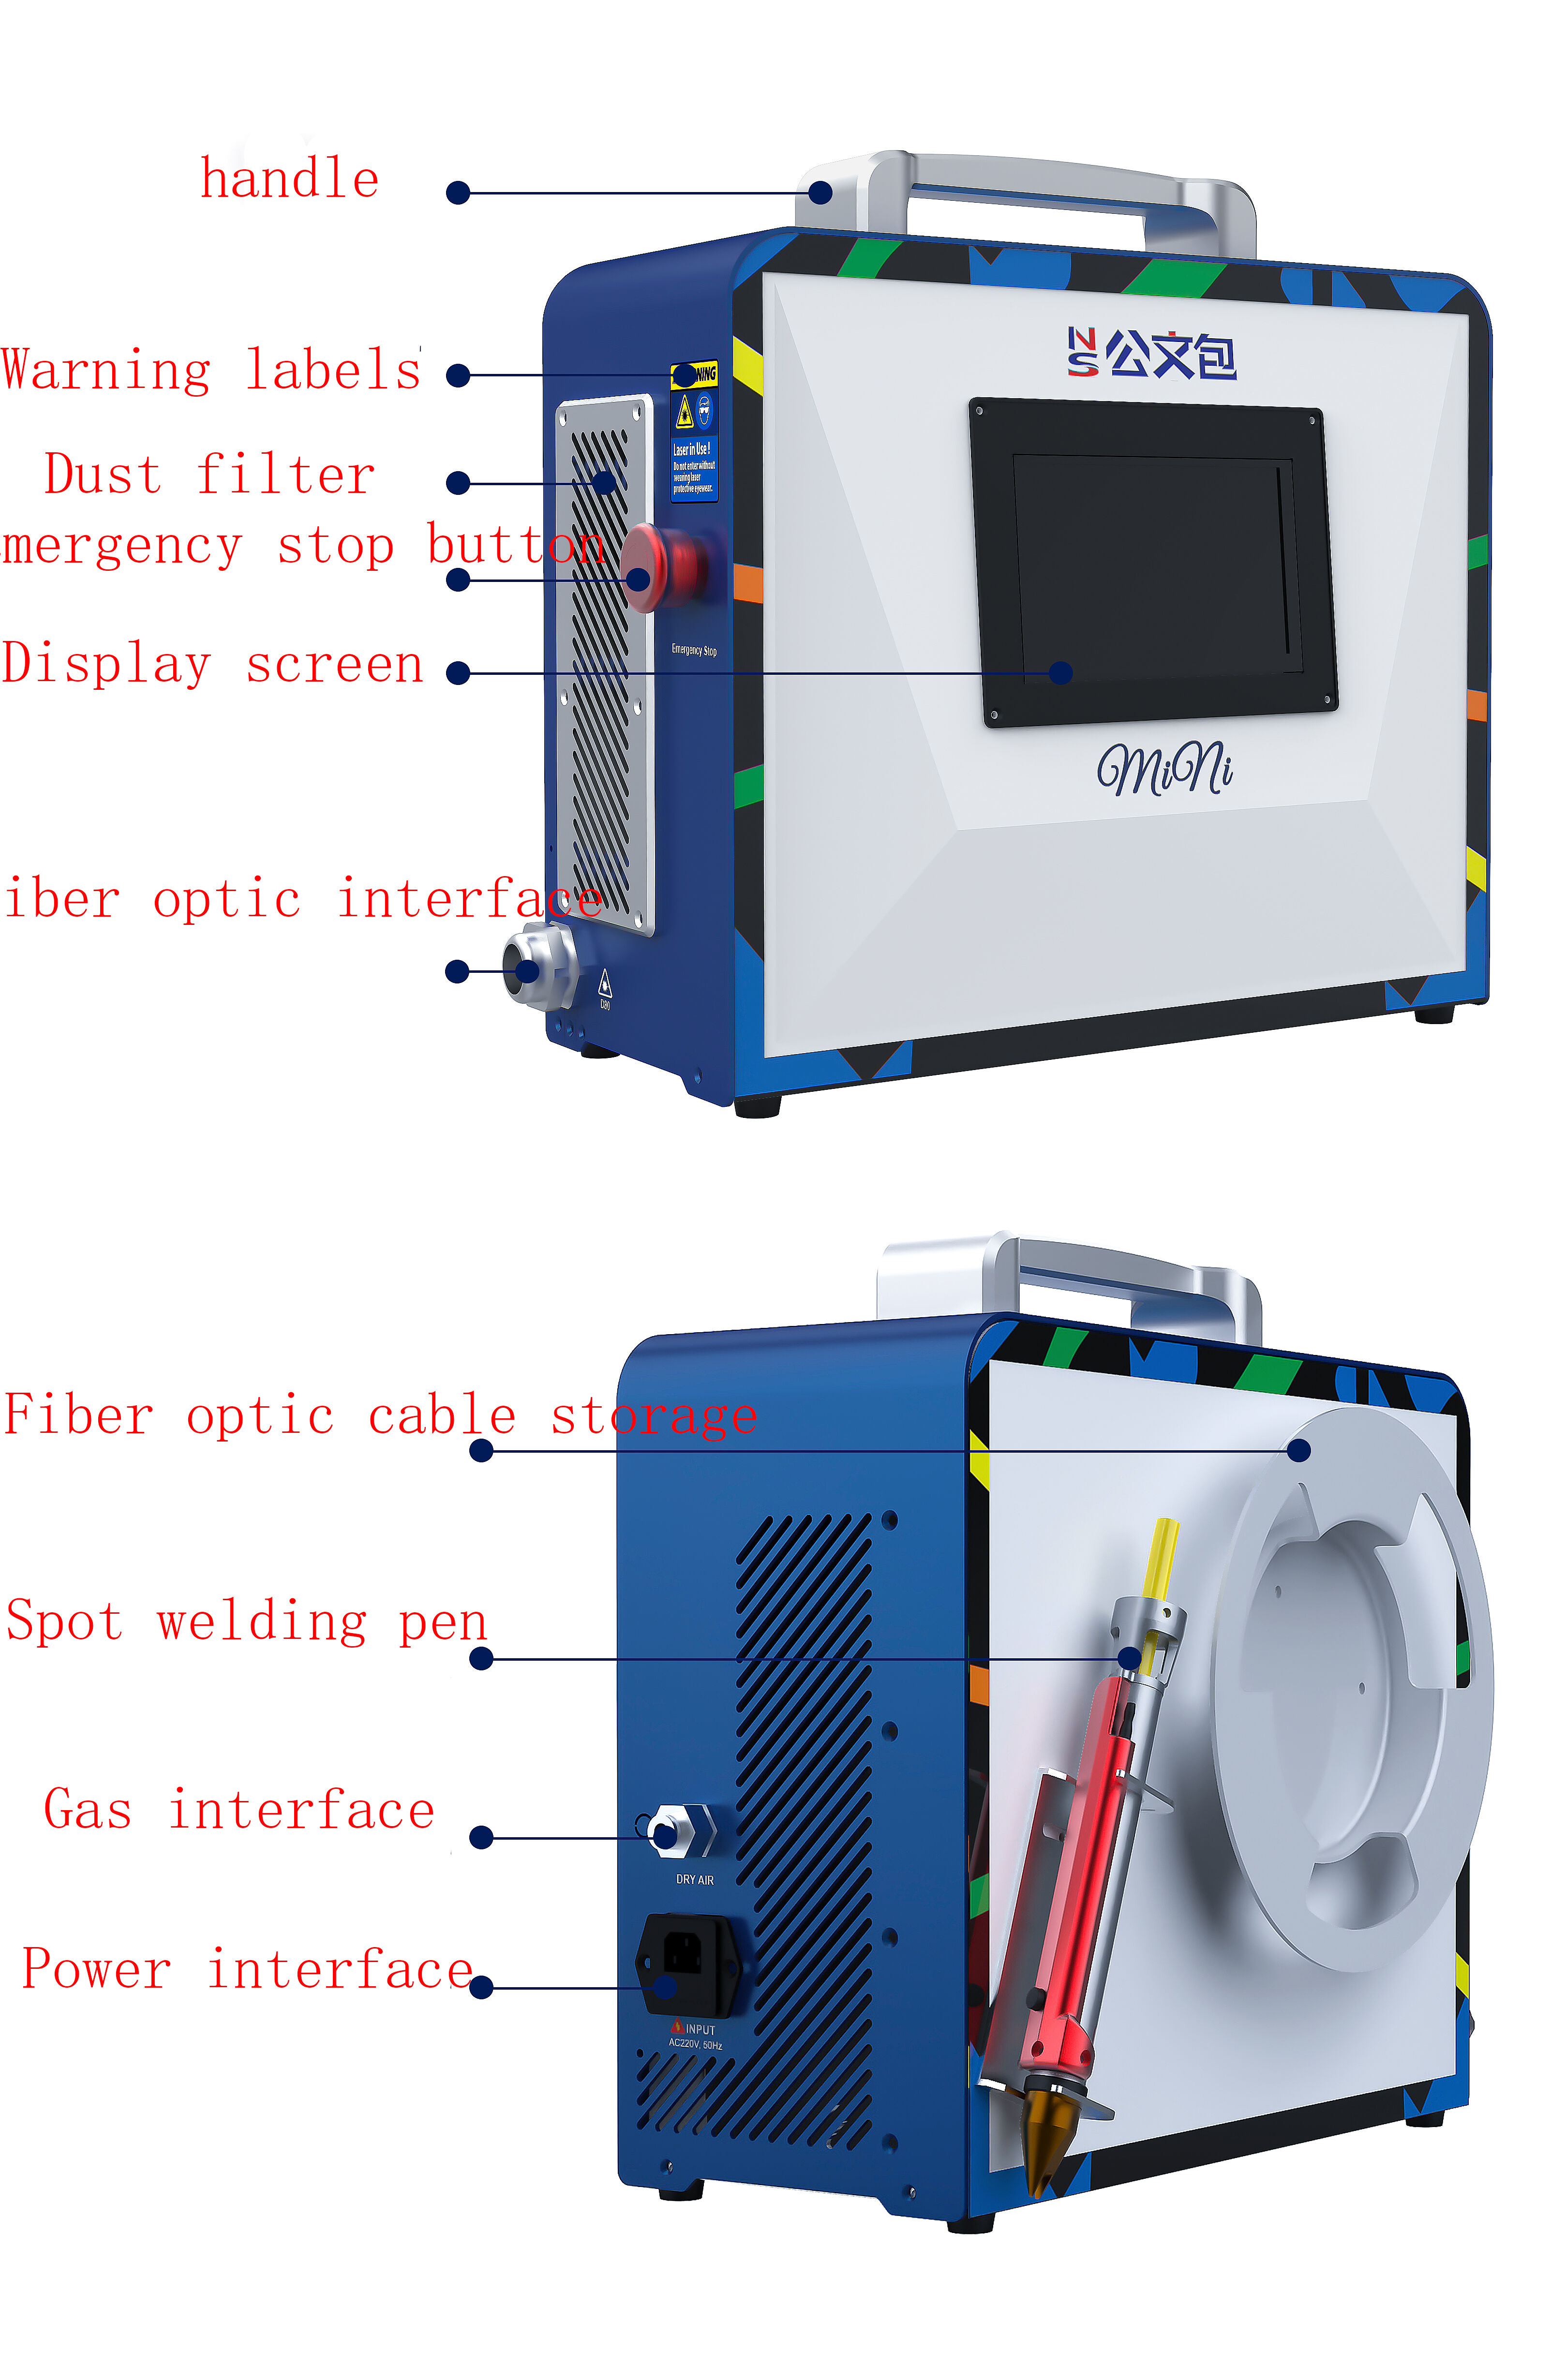
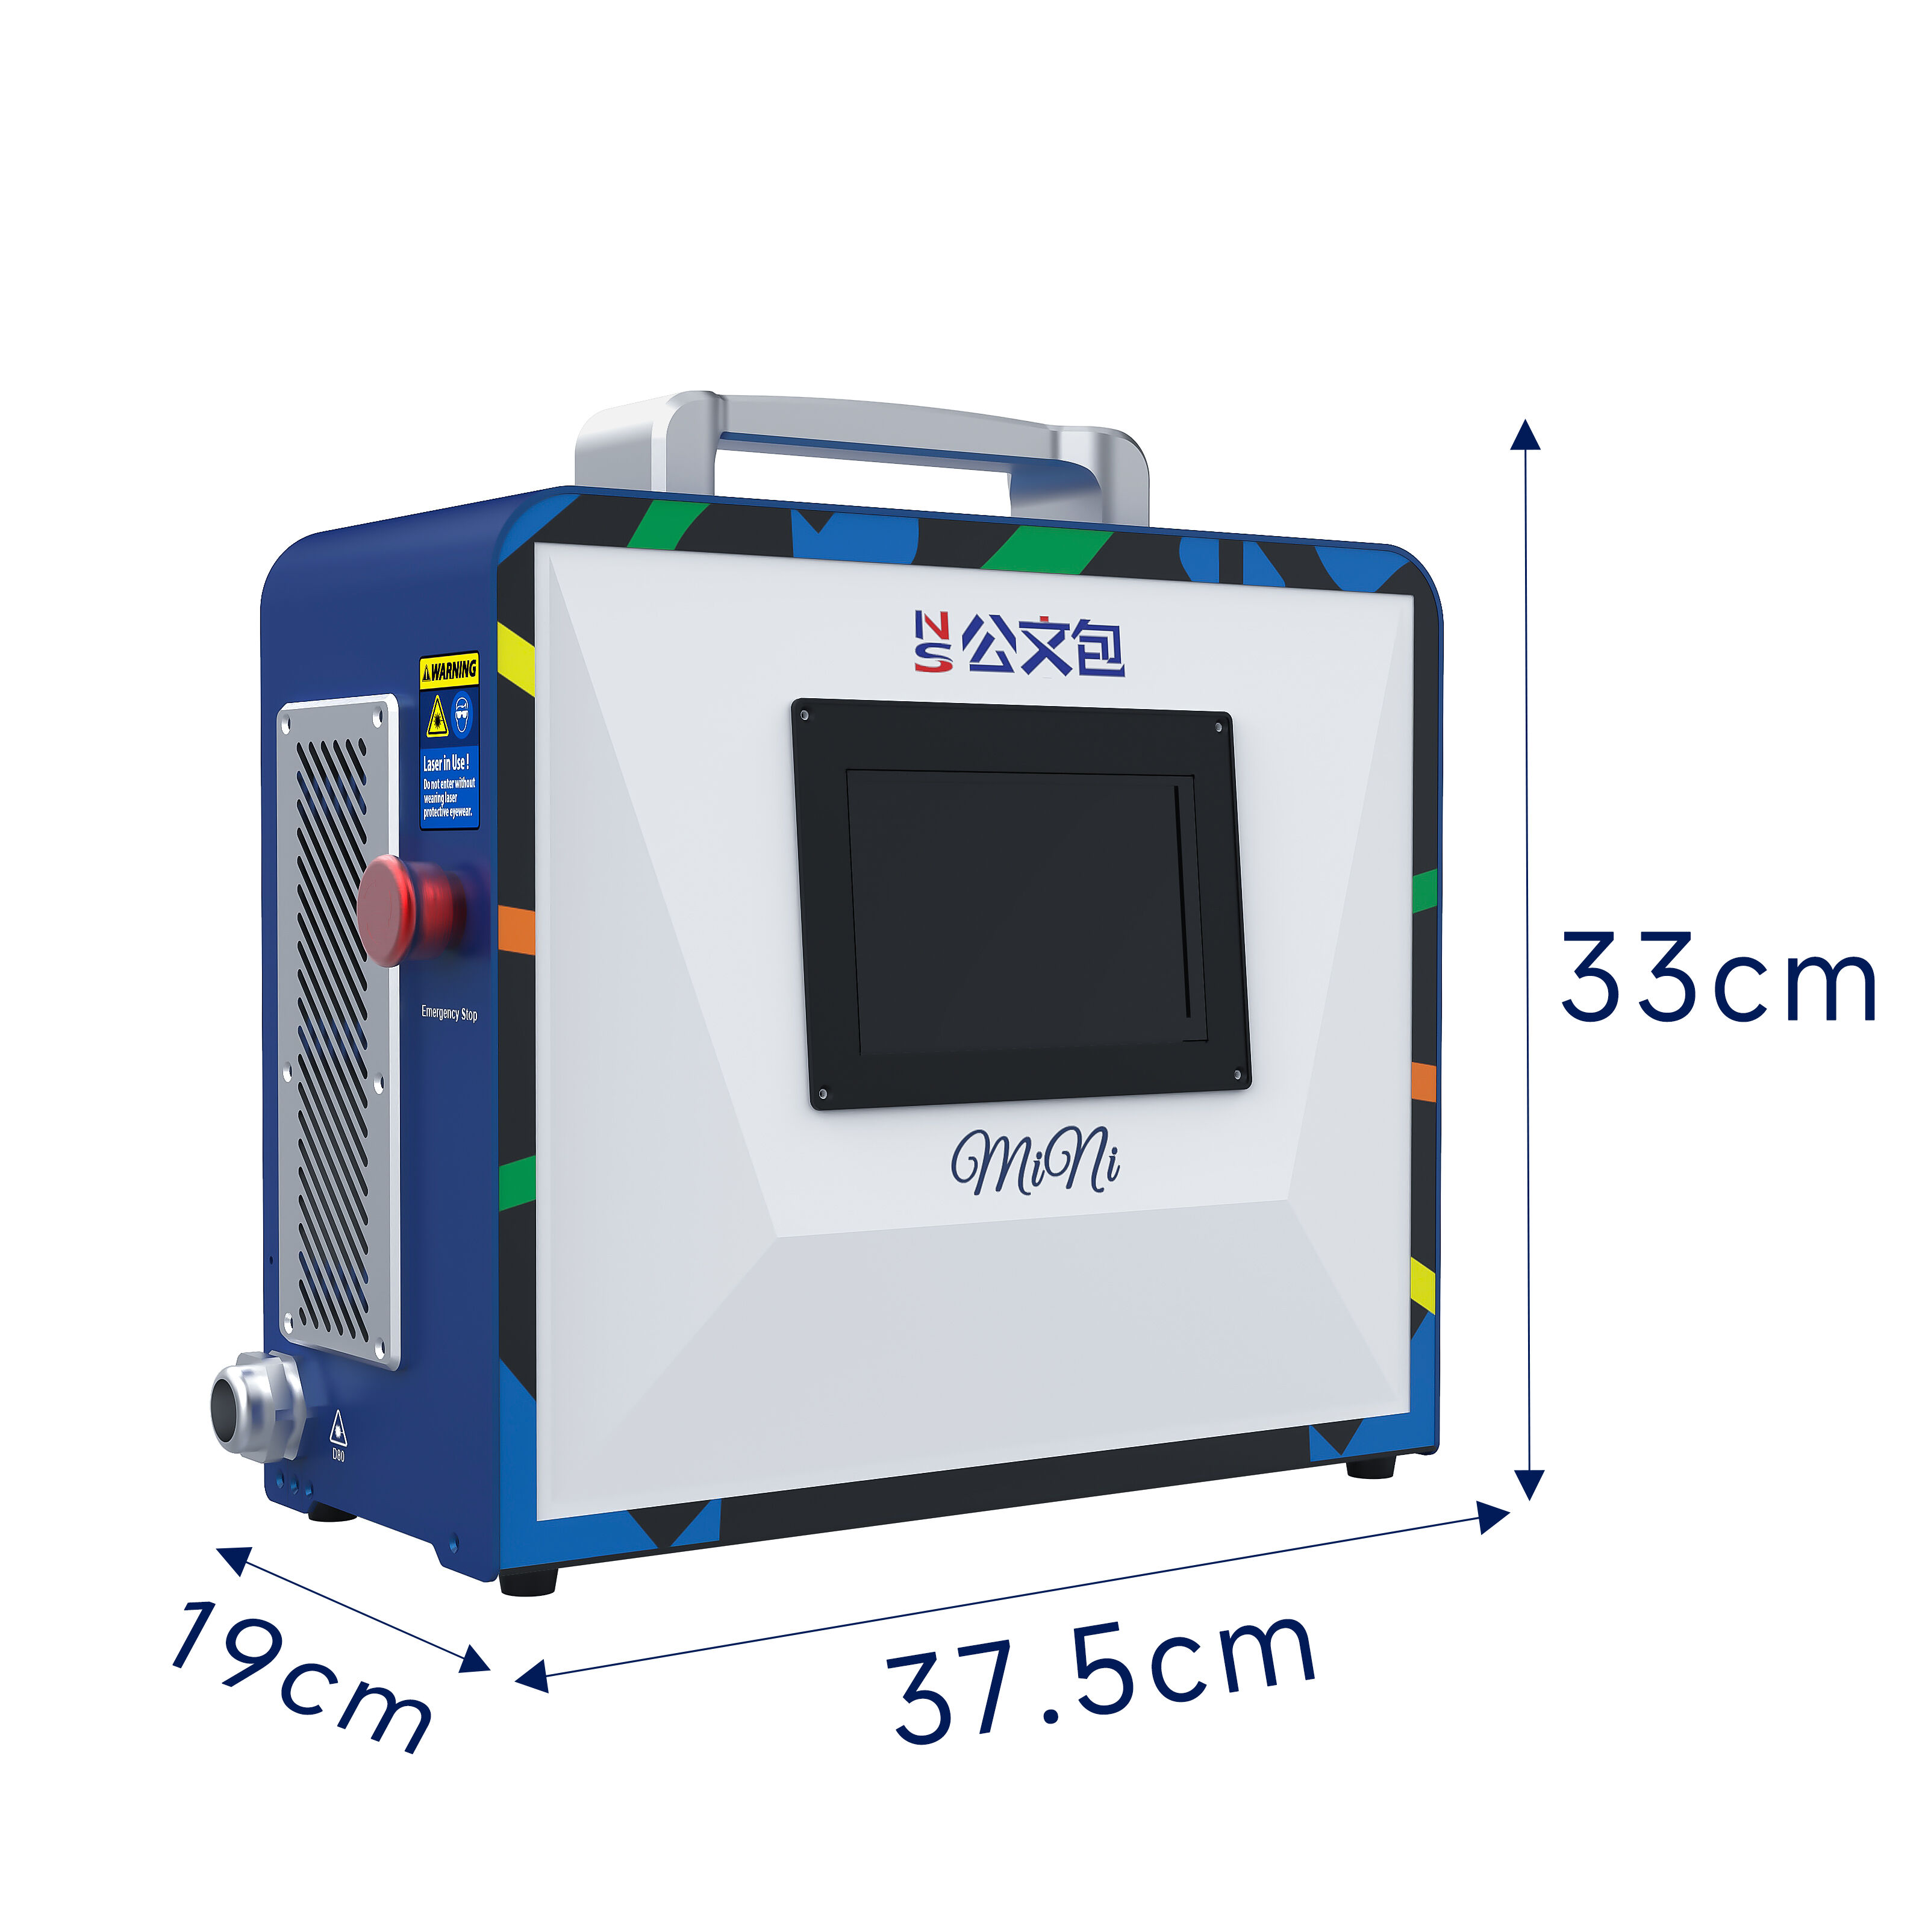
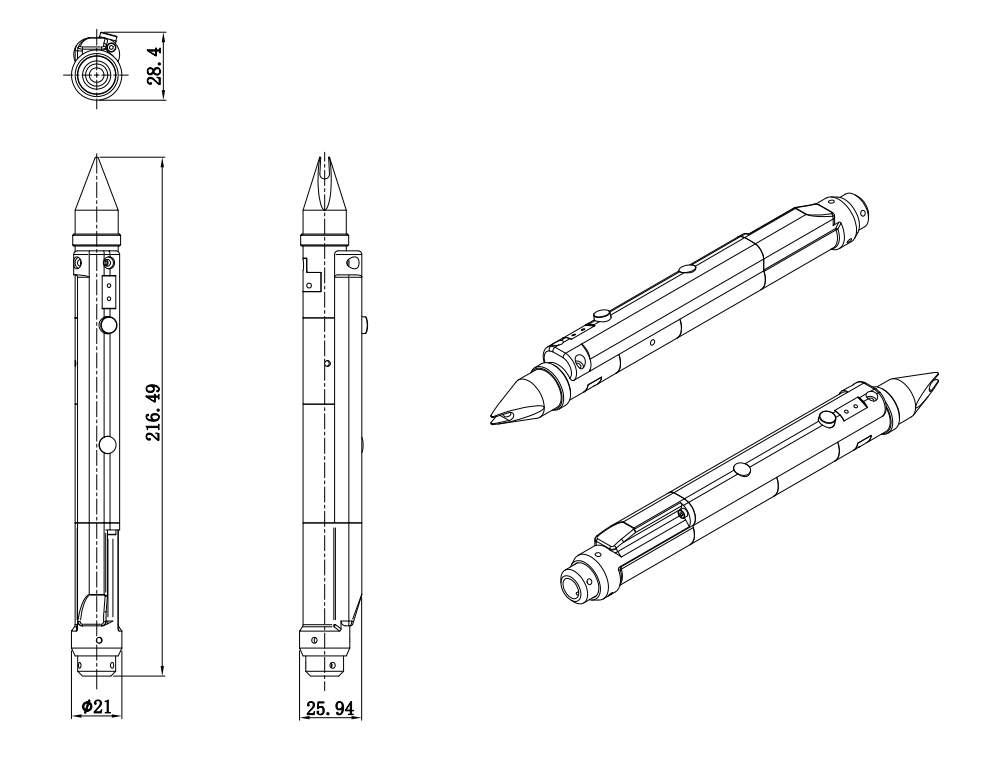
Product Structure:
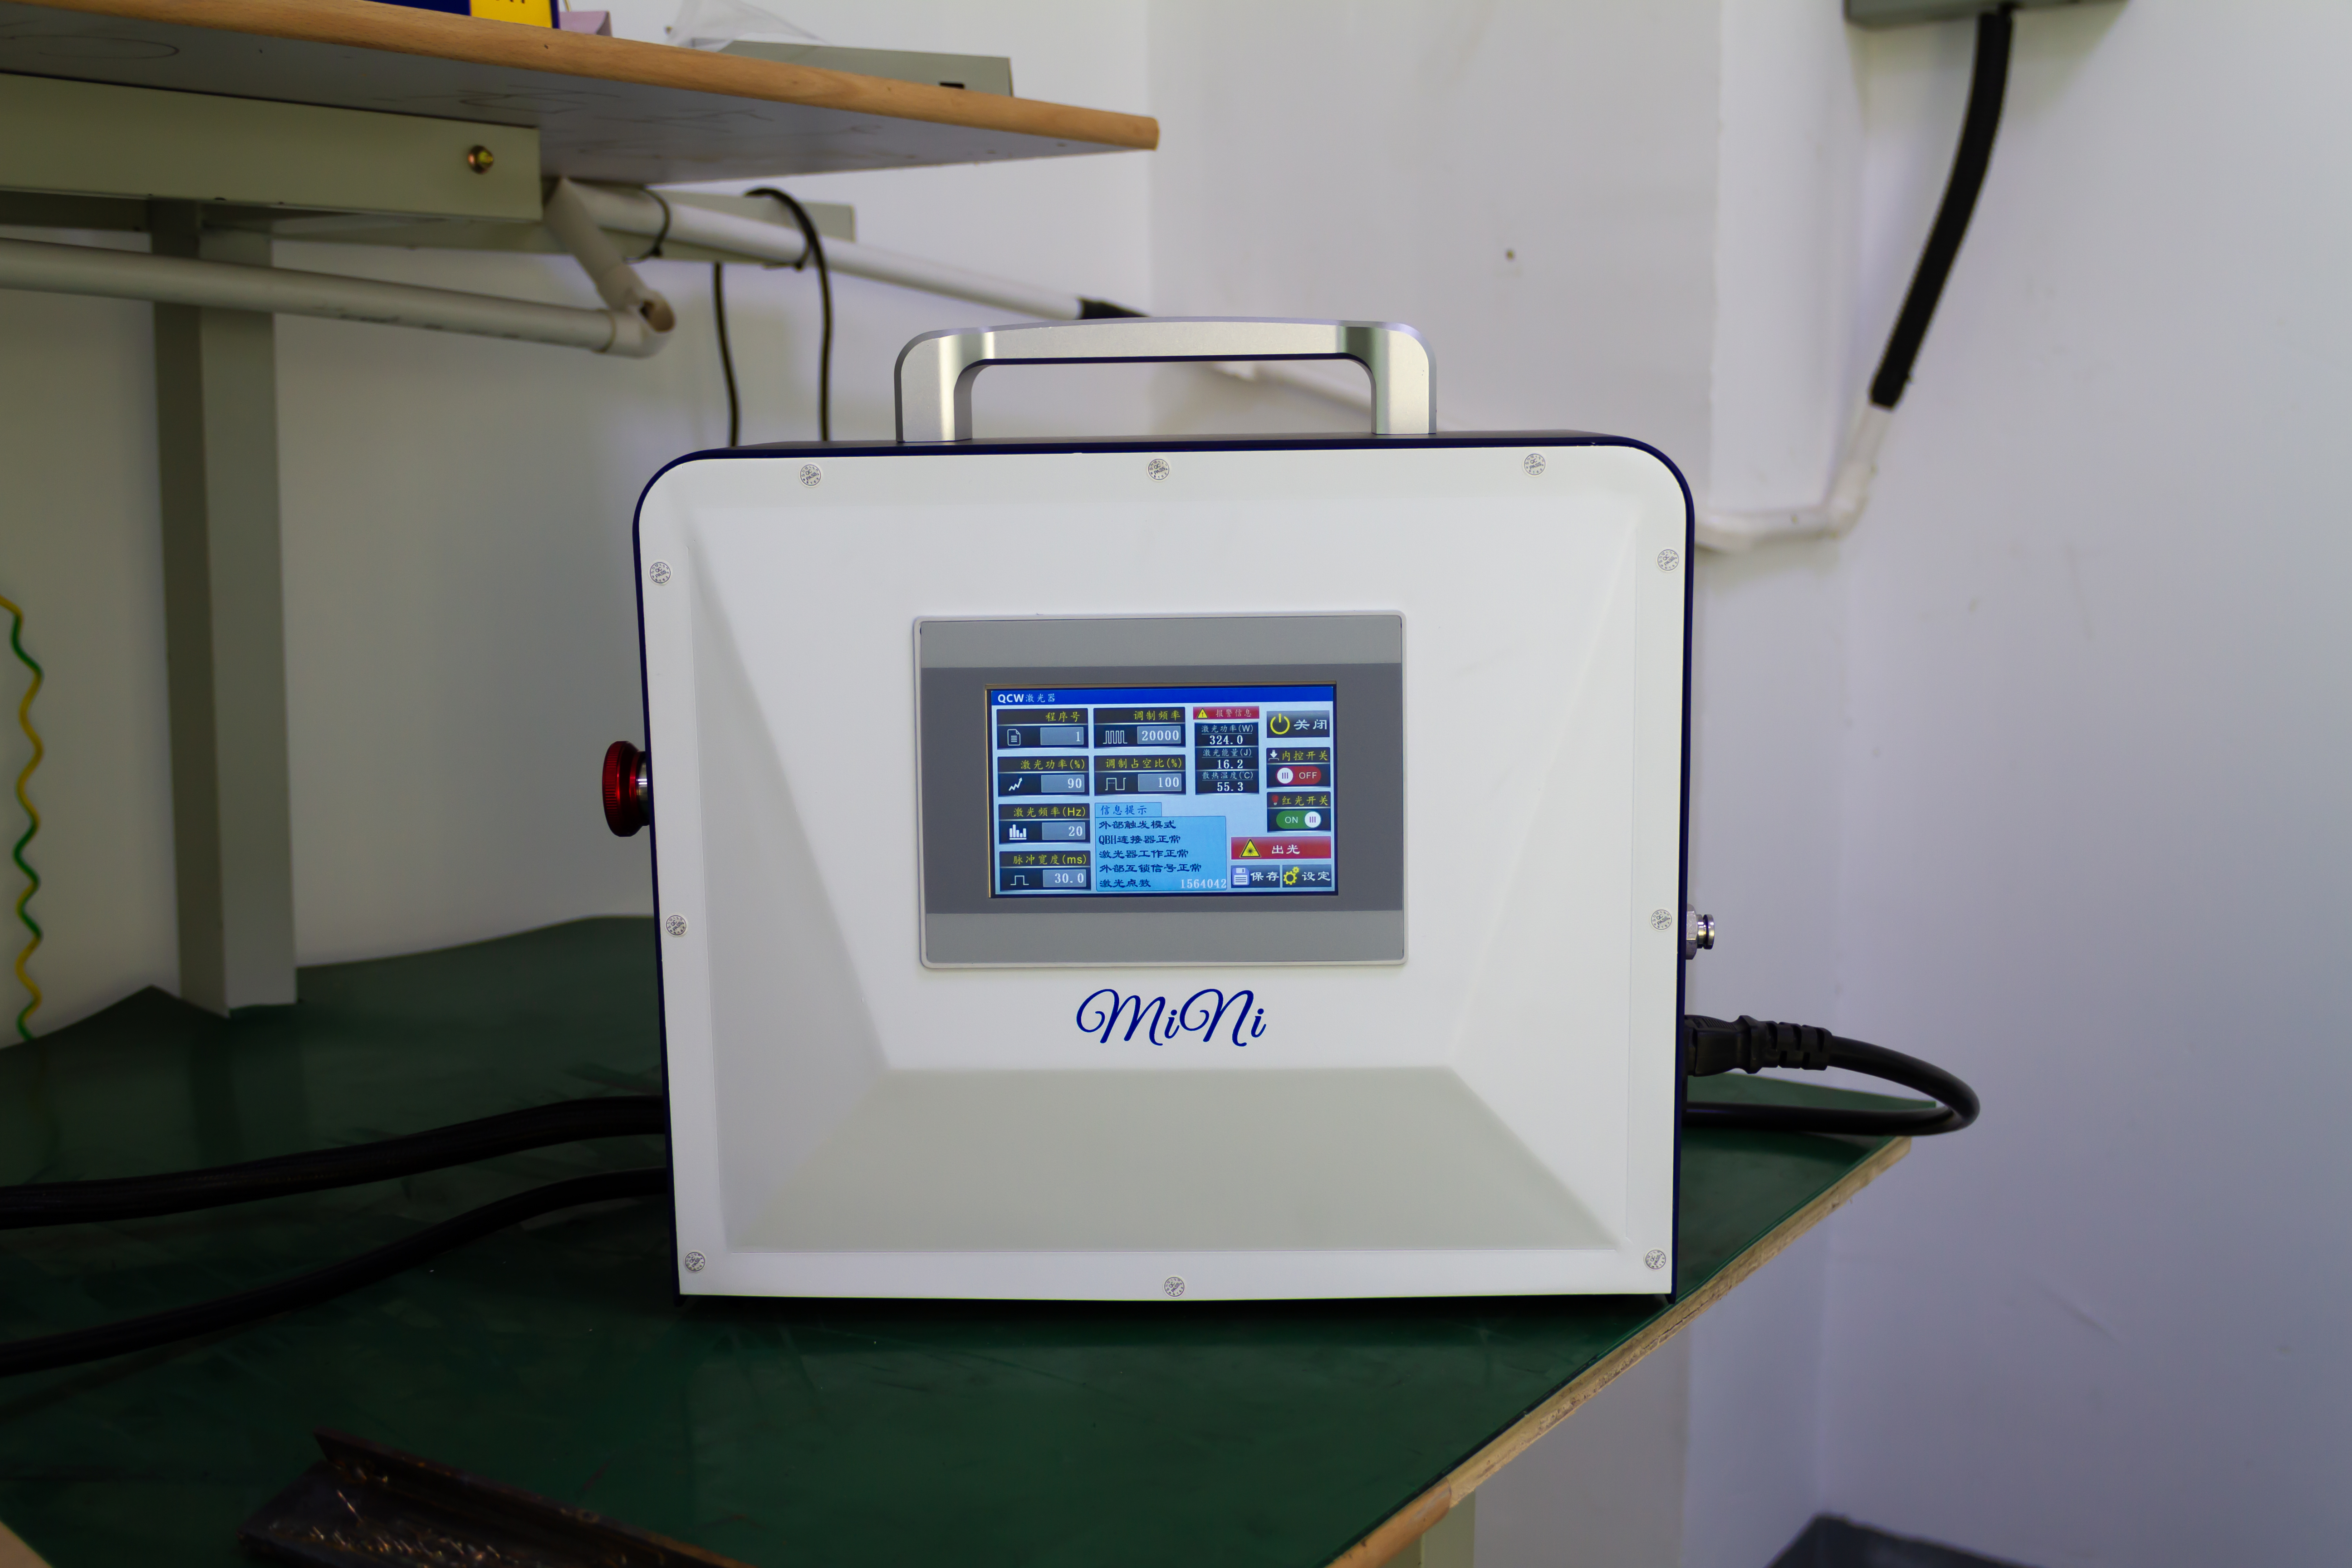
Technical Parameters:
 Host Maintenance and Upkeep
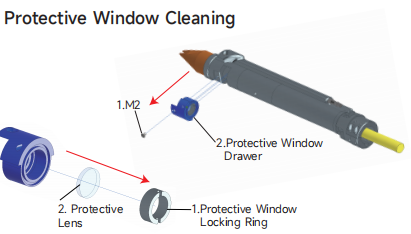
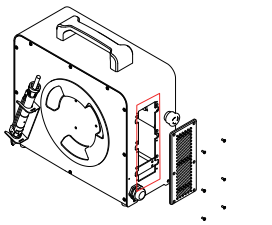
Maintenance of Protective Window Assembly:
Procedure:
• Remove the M2 flat-head screws and carefully slide out the protective
window drawer.
• CRITICAL: Immediately seal the exposed cavity opening with
non-adhesive protective film to prevent contamination.
• Transfer the drawer to a clean environment. Loosen the protective
window locking ring and remove the window (refer to the highlighted
area in the diagram). After replacing the window, tighten the locking
ring counterclockwise.
• Remove the protective film, re-insert the drawer horizontally into the
cavity, and secure it with the M2 flat-head screws.
Cleaning Instructions:
• Gently clean the lens using lint-free lens paper lightly moistened with
anhydrous ethanol, followed by using a rubber bulb blower to remove
loose particles with clean air.
• Repeat the process as necessary until the lens is perfectly clean.
• Replace the protective window immediately if cleaning cannot restore
clarity, or if any damage is observed.
Host Maintenance and Upkeep:
Regularly cleaning the filters is a simple yet critical practice that effectively prevents costly repairs caused by overheating issues, ensures the laser spot welder remains in optimal working condition, and extends its service life.
Before performing any cleaning or maintenance operations, you must ensure that the equipment is completely powered off and that all power connections have been disconnected; this is crucial for preventing electric shock or accidental equipment startup.
Filter Maintenance
Remove:
• Remove the six M2 flat-head screws, take off the cover, and extract
the internal dust filter.
Filter Cleaning:
• Air Blow Method: Use dry compressed air (pressure not too high,
recommended 0.3–0.6 MPa) to blow dust and debris from the inside
to the outside of the filter. If compressed air is unavailable, a hair
dryer on the cool air setting can be used instead.
• Brushing Method (for heavy soiling): If there is significant dust, first
gently brush off surface dust with a soft brush, then use air blowing.
• Rinsing Method (deep cleaning): Rinse the filter under running water
from the inside out. Do not scrub hard to avoid damaging the filter
material. After rinsing, the filter must be 100% dry before
reinstallation. Allow the filter to air-dry naturally in a well-ventilated
area—do not use hot air or expose to direct sunlight to prevent
deformation.
Filter Installation:
• Before installing the filter, clean the filter compartment inside the
equipment with a vacuum or soft cloth.
• Reinsert the completely dry filter, secure the cover, and tighten the
screws.


Products Number: Small enclosed marking machine
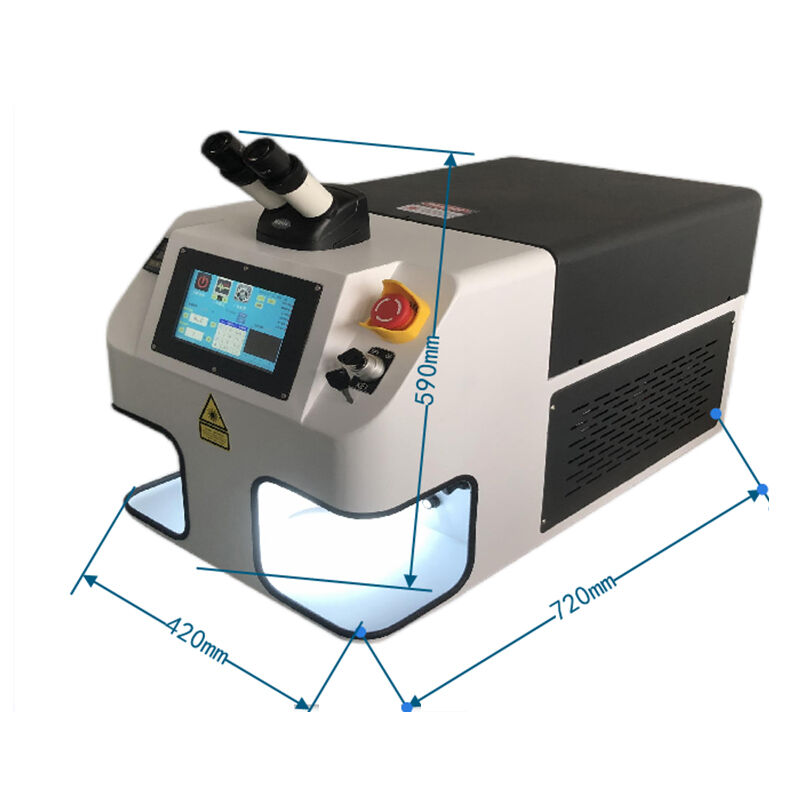
Products Number: Desktop laser welding machine
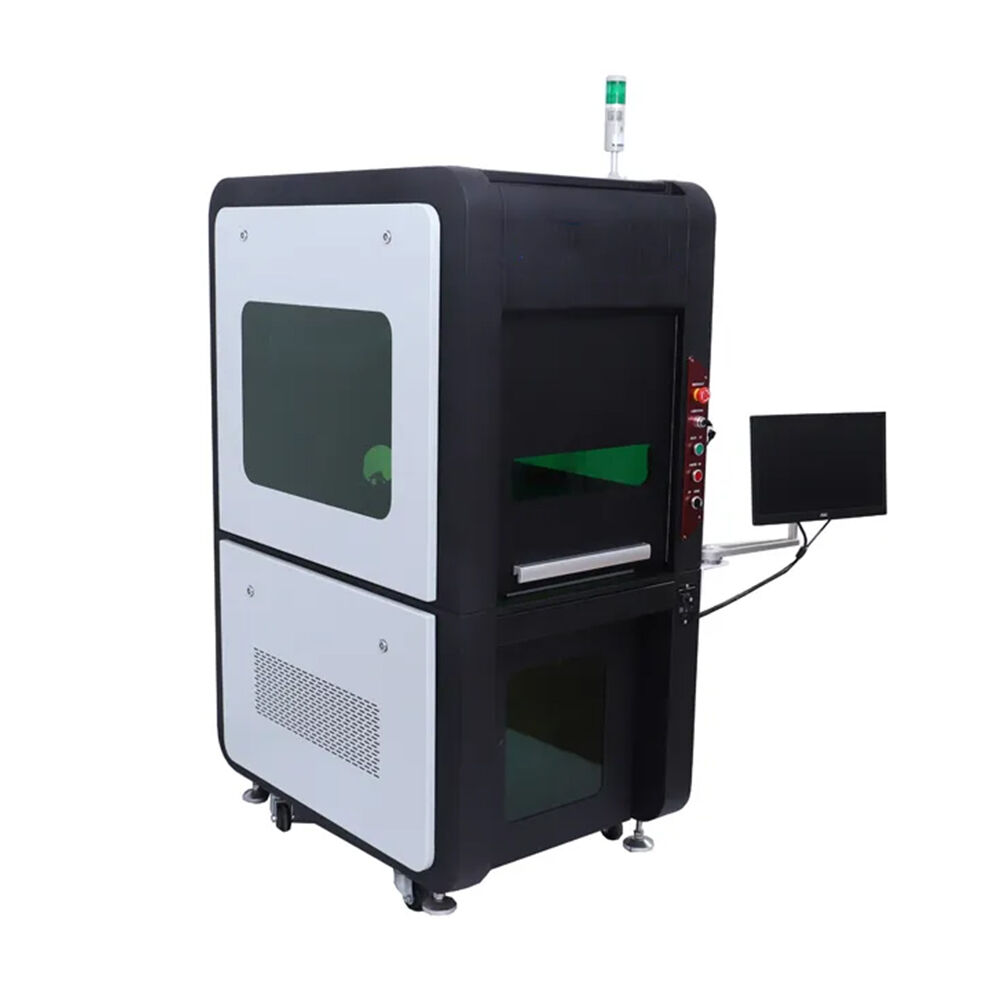
Products Number: Fully enclosed marking machine
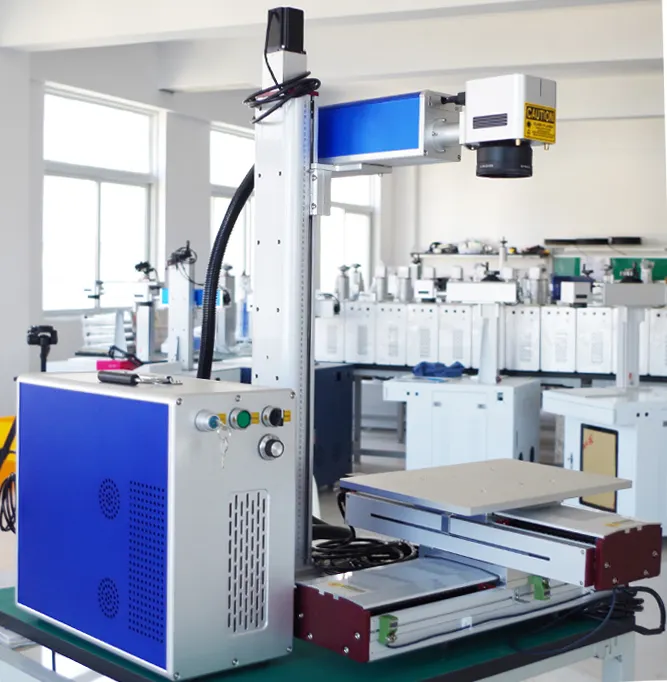
Products Number: Fiber optic laser marking machine
Products Number: Handheld laser welding machine
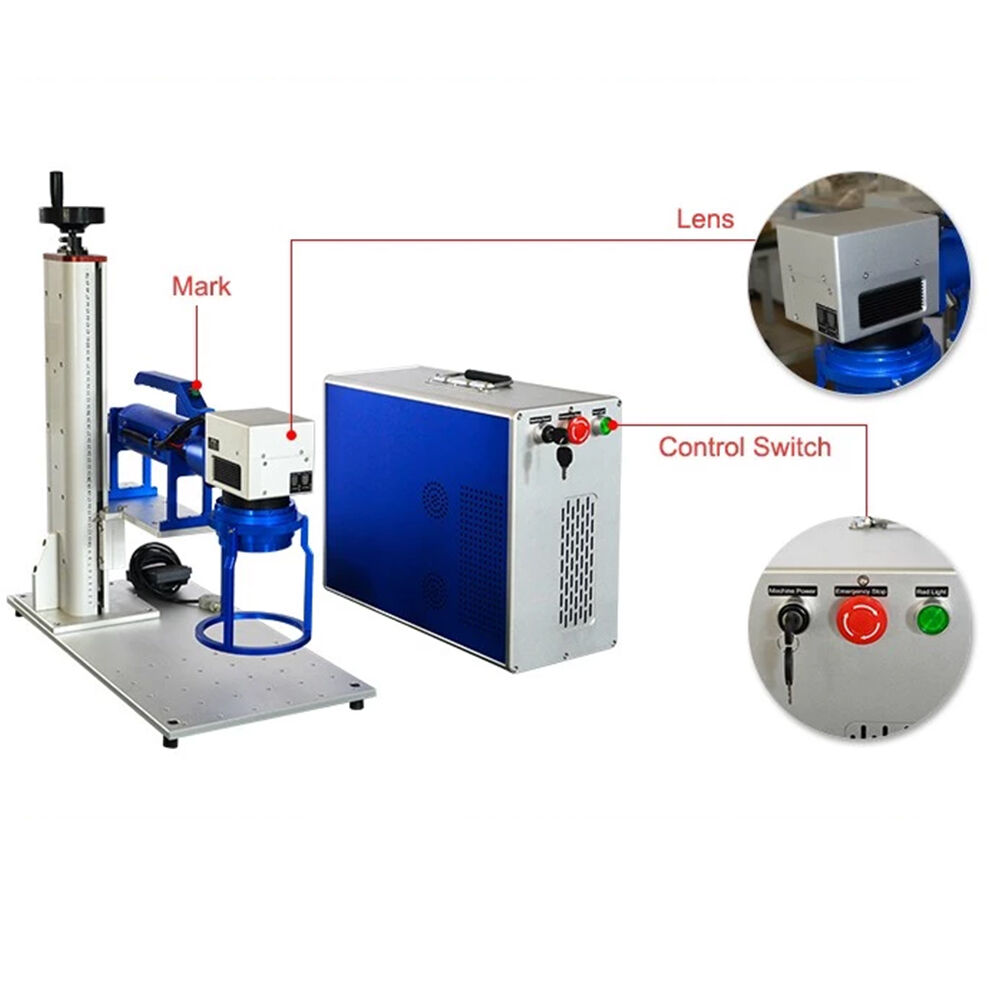
Products Number: Handheld Stainless Steel Fiber Mark Laser Engraving Machine